
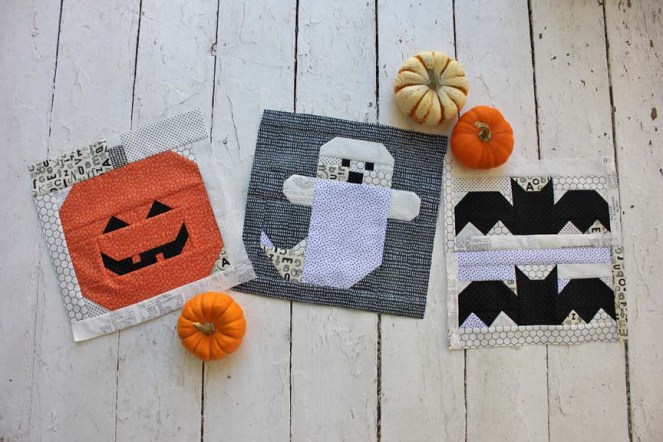
Happy October! I’ve been in the mood to do a little Halloween sewing, so I designed three fun Halloween blocks and will be sharing the tutorials for each block on my blog in the weeks leading up to Halloween. Put all of the blocks together and they will make a not-too-terrifying Spooky Parade! First up in my Spooky Parade tutorials are the Halloween Bats.

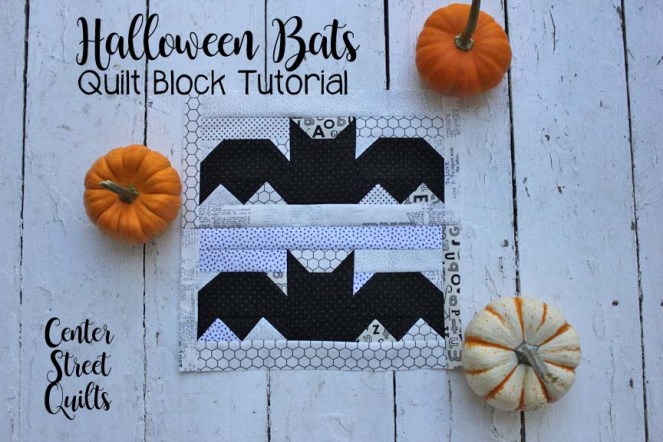
The Halloween Bats quilt block finishes at 12″ x 12″ (12.5″ x 12.5″ unfinished). The diagram and instructions below show how to make one bat. To do the full 12″ x 12″ quilt block, just follow the instructions a second time and sew the two bats together. 🙂
Spooky Parade: Halloween Bats
Halloween Bat Quilt Block Diagram

Cutting Instructions for one bat:

1. Gather the (10) G units and the (4) D units (all 1.5″ x 1.5″ squares) and draw a line from corner to corner on the wrong side of each of the squares.

2. Place the (4) D units on the corners of the top of the two H units, right sides together, with drawn lines oriented as shown below. Sew directly on the drawn line.

3. Trim off the excess fabric 1/4″ from the sewn line and press the seam open.

4. Gather the (10) G units with lines drawn on the wrong side, plus the C unit and the (4) E units. Place one of the G units on each of the background pieces, lined up with the left edge and drawn lines as shown below. Sew directly on the drawn line.

5. Trim off the excess corner of the fabric, 1/4″ away from the sewn line and press the seams open.

6. Repeat with the remaining (5) G units for the right side of each C and E unit.

7. Pair up the flying geese E units and sew each pair together along the short edges. Press seams open.

8. Sew each E unit to the bottom of an H unit to form the bat wings. Press seams open.

9. Lay out the remaining pieces as shown in the diagram below.

10. Sew the B units to the top of the bat wings and the C unit (bat ears) to the top of the I unit (bat body). Press seams open.

11. Sew the wings to either side of the bat body. Press seams open.

12. Sew the A units to the top and bottom of the bat. Press the seams toward the A units.

13. Sew the F units to the left and right sides of the bat block. Press the seams toward the F units. Your bat block should now measure 12.5″ x 6.5″.

Now that you have one bat, you need to make him a friend! Sew two of these bats together and you’ll have a 12.5″ x 12.5″ block with two Halloween Bats ready to join a Spooky Parade!

Stay tuned for part two of the Spooky Parade! I’ll be sharing another 12″ x 12″ block really soon to add to your cute Halloween bats. If you don’t want to miss the next blog post, you can enter your email address (up above on the right column if you’re on a computer, or at the bottom of the screen if you’re on a mobile device) and you’ll be notified by email when the next block is posted. 🙂 Happy sewing!
Update–for easy reference, here are the other two Spooky Parade Quilt Block Tutorials:
- Click HERE for the Jack-o-lantern quilt block tutorial
- Click HERE for the Ghost quilt block tutorial

Adorable block Kristina. Thanks for sharing. Chris
LikeLike
Thank you for your kind words, Chris!
LikeLike
That was awesome thank you so much it gave me an idea on what to add to my table runner. I have witch legs and a hat and the bats are perfect. Thanks again
LikeLike
Would love to get your tutorials! These Halloween blocks are absolutely adorable.
LikeLike
Thank you, Polly! All three blocks are now posted with step-by-step photo tutorials in each blog post. 🙂
LikeLike
These are adorable, thank you for much for the great tutorial!
LikeLike
Thank you so much for sharing these cute Halloween quilt blocks….I just love them. Sandra
LikeLike
is there a way to save the patterns ghost bats jackolatern
LikeLike